


Search for ""
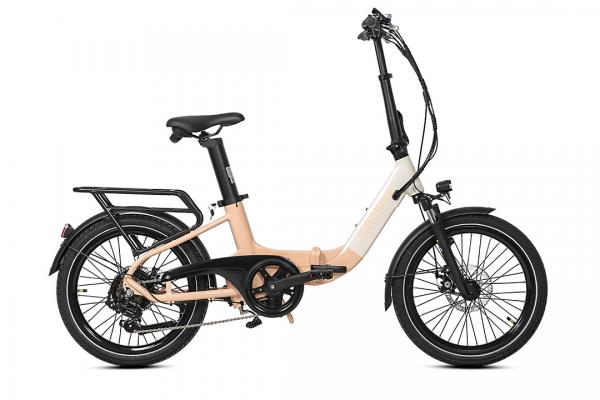
Step 1 Before opening the box
Record the exclusive bike information on the side of the box with your phone. Make sure it is with correct direction and without serious damage.
Step 2 Unpack the bike
Open the package and take out all of the parts. Be careful of not missing even a little piece of part.
The parts shall include:
| Front Wheel | Frame |
| Manual | Charger |
| Keys (2 identical) | Headlight |
| Quick Release | Pedals |
| Toolkit |
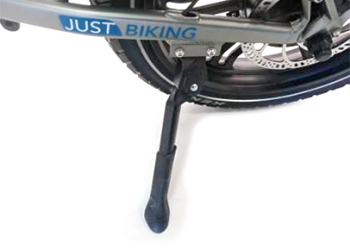
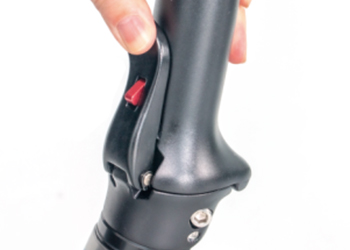
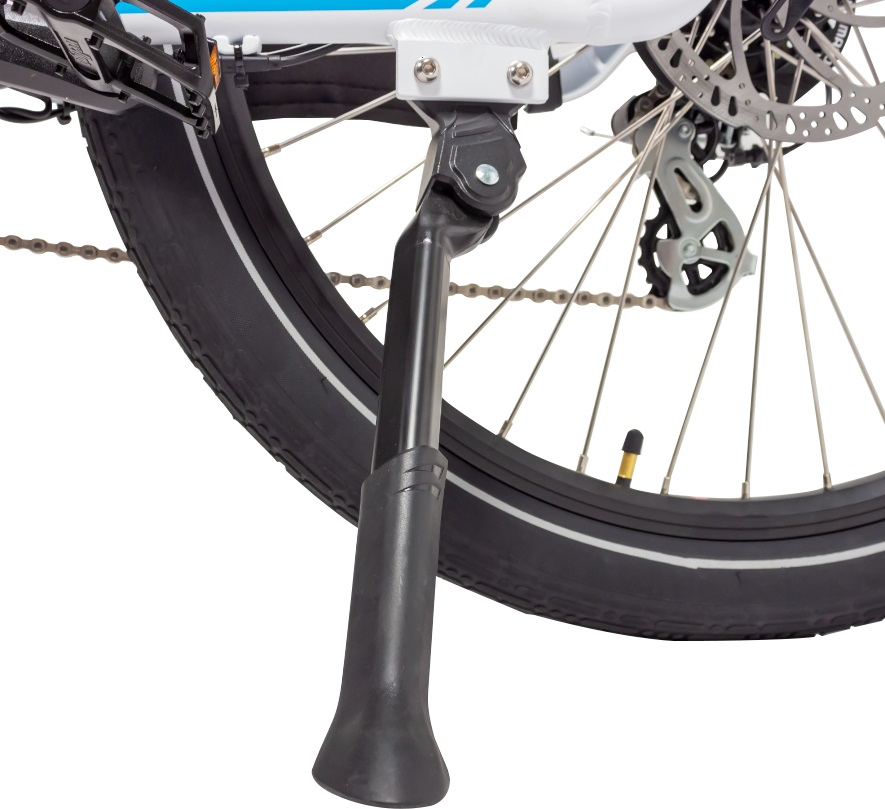
Step 3 Unfold the kickstand to make the bike stand up
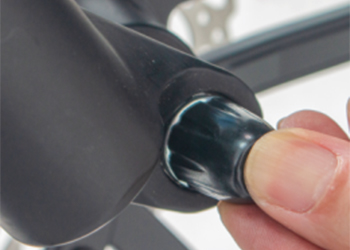
Step 4 Unfold the handle stem
Lift the handle stem up and lock it with the folding clasp.

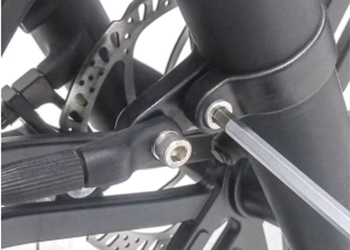
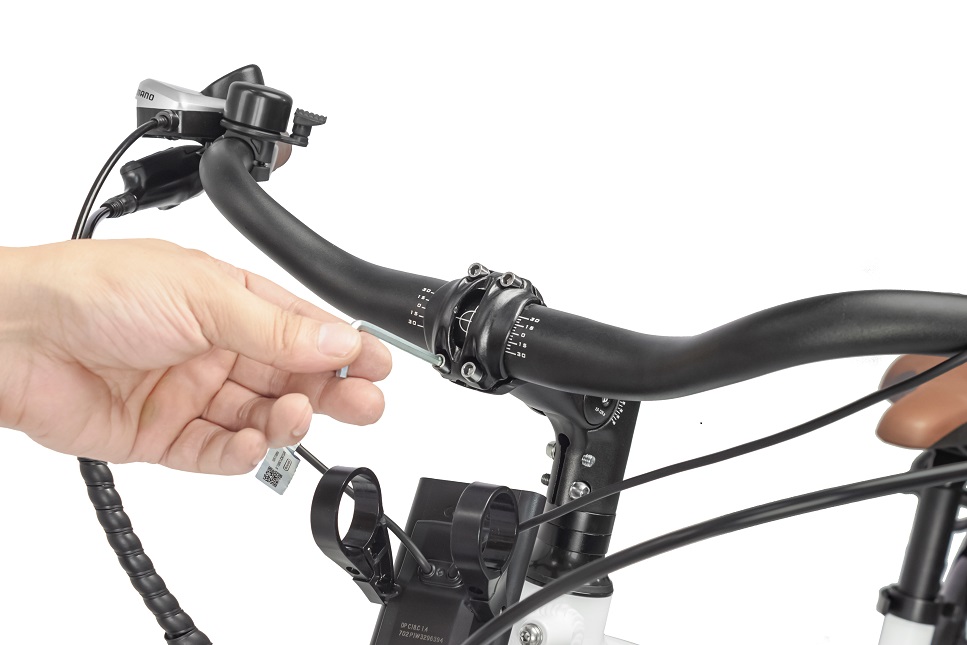
Step 5 Install the handlebar
5.1 Release the four bolts.
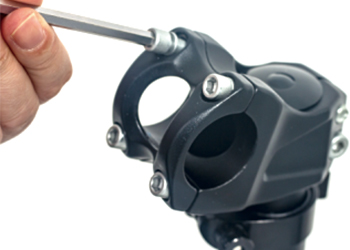
5.2 Install the handlebar to the handle stem and screw the four bolts again with matching wrench. During the installation, adjust the handlebar to an appropriate angle so that the bike can be operated comfortably.
5.3 Make sure the four bolts are screwd tightly and the handlebar cannot be moved.
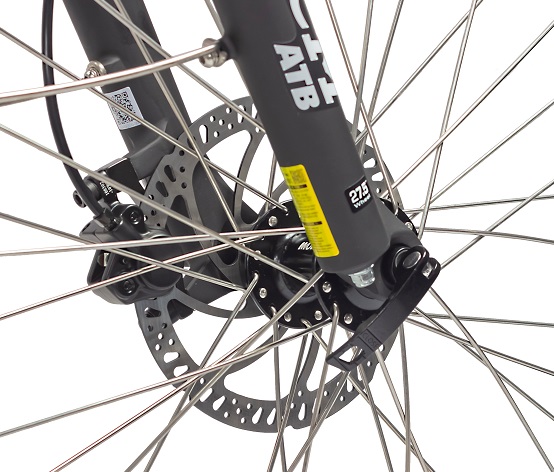
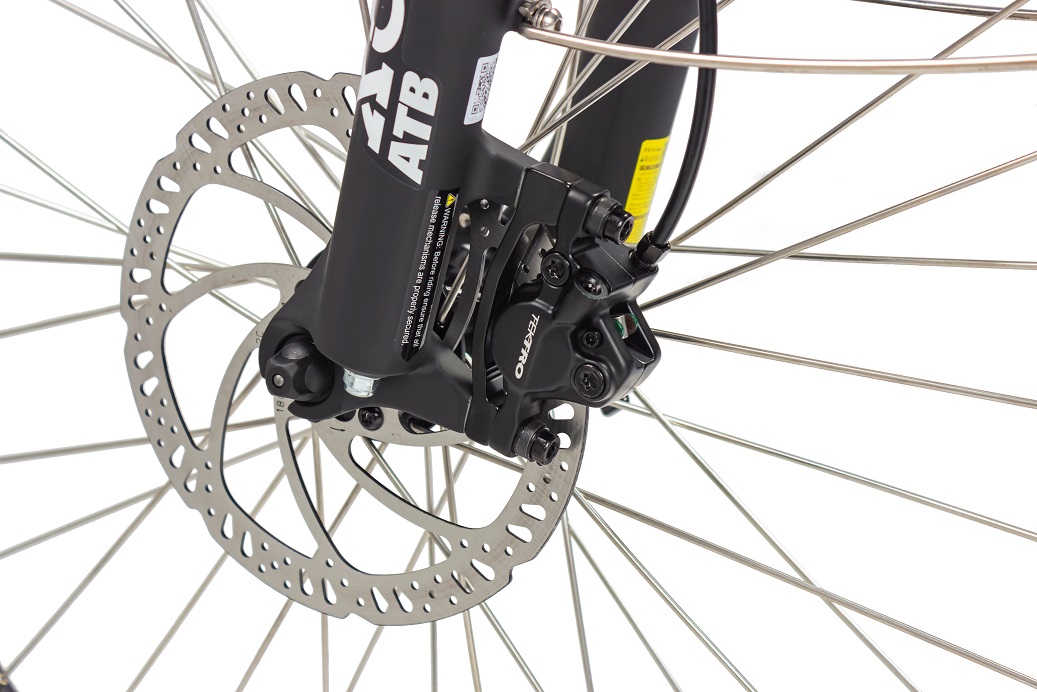
Step 6 Install the front wheel
6.1 Insert the quick release into the front wheel axle hole.
Note: The lenth of left axle sleeve is 22mm and the right axle sleeve is 8mm.
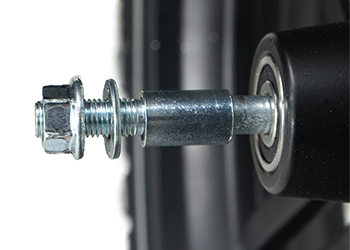
6.2 Install the tire into the front fork groove.
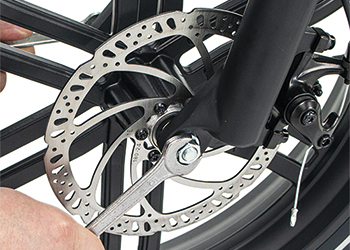
Note: Make sure the brake disc is placed between the two brake pads.
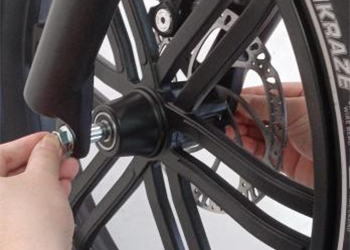

6.3 Screw the left and right nut together with two wrenches and make sure the front wheel is fixed to the front fork tightly.
6.4 Install the left and right dust proof cover.
Make sure the brake disc of the wheel will not rub the brake pad when it is rotating under the condition of not taking the brake.
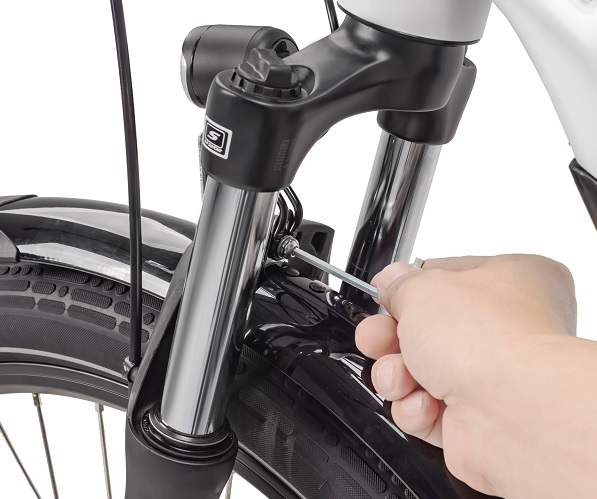
Step 7 Install the front fender and the front light
7.1 Screw the bolt and nut with matching wrench to Install the front fender and headlight on the front fork bridge.
7.2 Loose the bolt with a cross wrench to adjust the headlight angle so the light can illuminate the road ahead. Tighten the bolt when the adjustment is done.
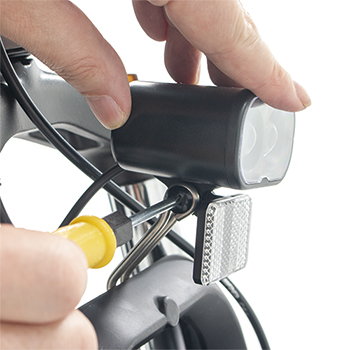
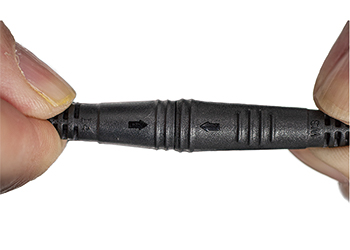
7.3 Connect the headlight cable.
Note: Make the two arrows stay in a line when pushing the connector.
7.4 Screw the two bolts to fix the side brace of the fender.
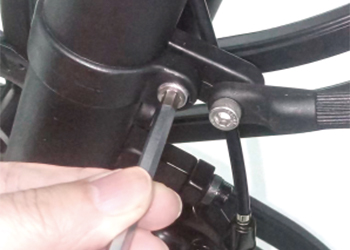
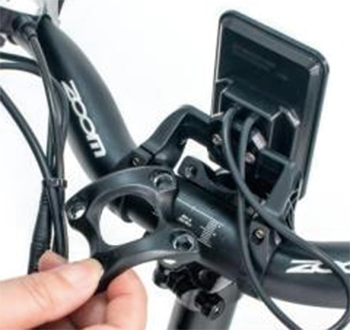
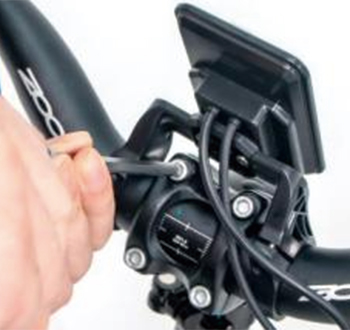
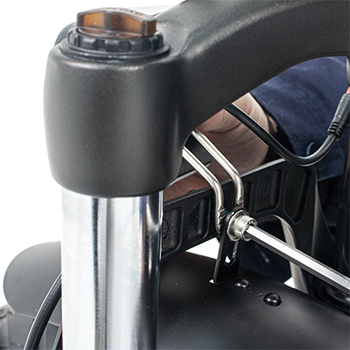
Step 8 Adjust and tighten the handle stem
Make the handlebar at a 90 degrees angle to the tire and then screw the two bolts tightly.
Step 9 Install the pedals
9.1 The "L" mark indicate it is the left pedal and the “R” mark indicate it is the right pedal.
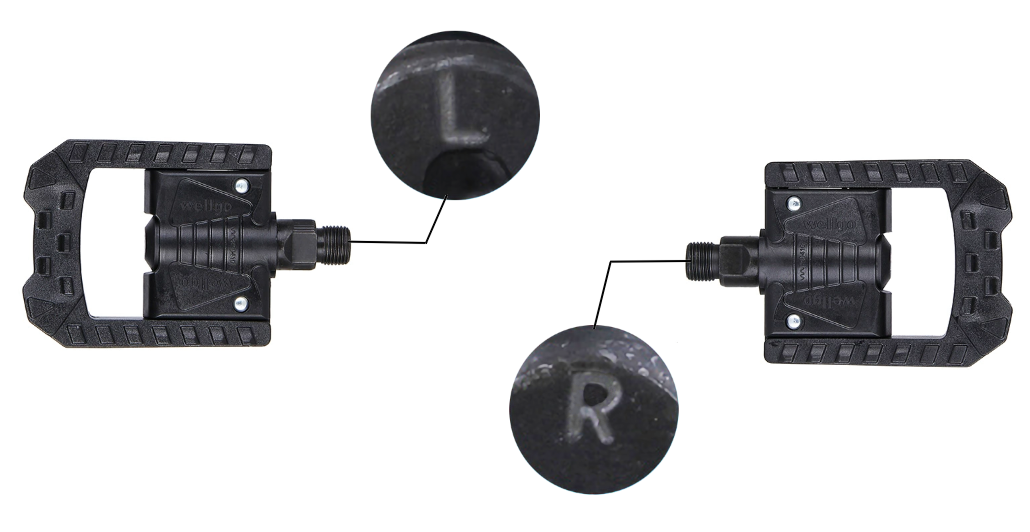
9.2 Screw the left pedal bolt into the left crank with a wrench anticlockwise.
9.3 Screw the right pedal bolt into the right crank with a wrench clockwise.
Step 10 Inflate the tyres
Check whether the tyres beads and tyres are evenly seated on the rims. Use a pump with a Schrader valve and pressure gauge to the recommended pressure indicated on the tyre sidewall.
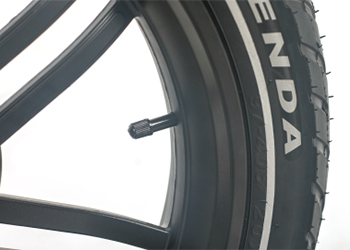
Note: Do not over inflate or under inflate tyres.
NOTICE: Both wheels must be properly settled before operating your bike. If you are not able to assemble your bike, please contact us or look for help from a certified, reputable local bike mechanic. Ensure all hardware is tightened properly.
Minors are prohibited from riding.
Understanding basic troubleshooting will help you troubleshoot and resolve e-bike problems faster. For basic troubleshooting tips, check your owner's manual or see the following article.
Common E-Bike Faults and Troubleshooting
If you cannot solve the problem, we recommend that you find a nearby bike shop for inspection, or contact us and we will have experts serve you.
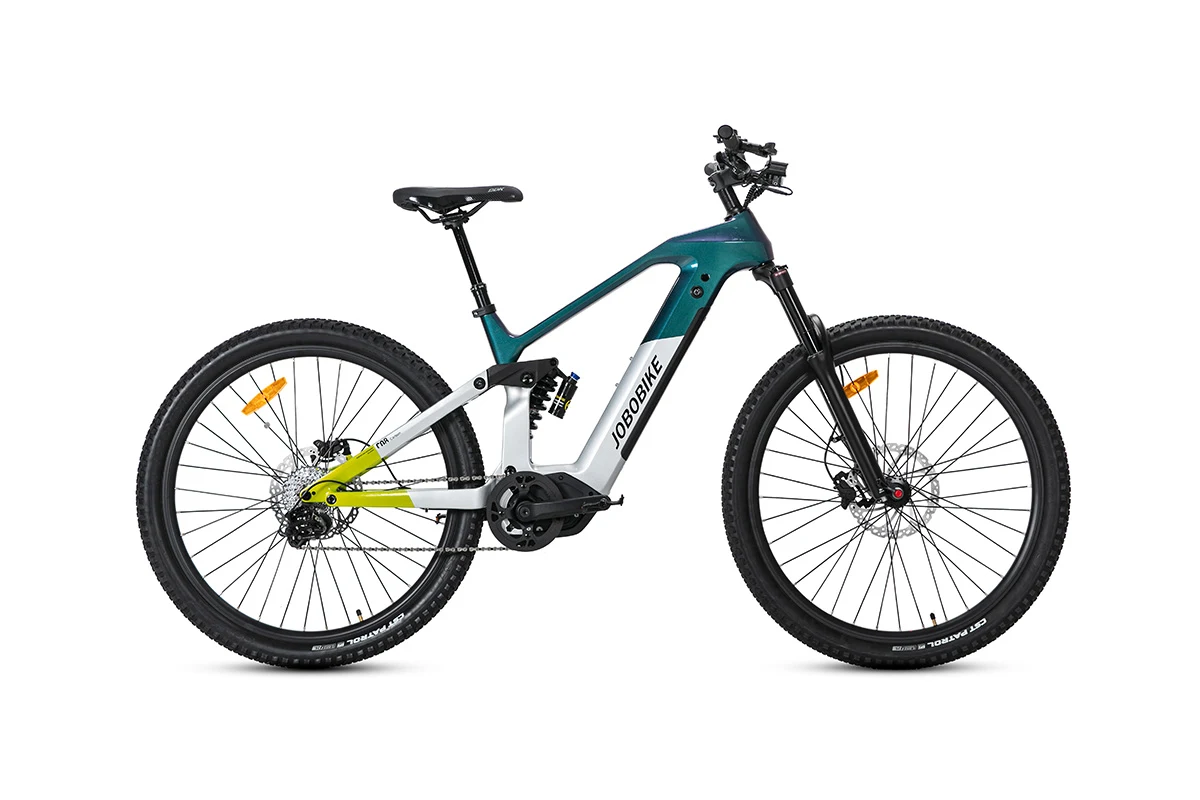
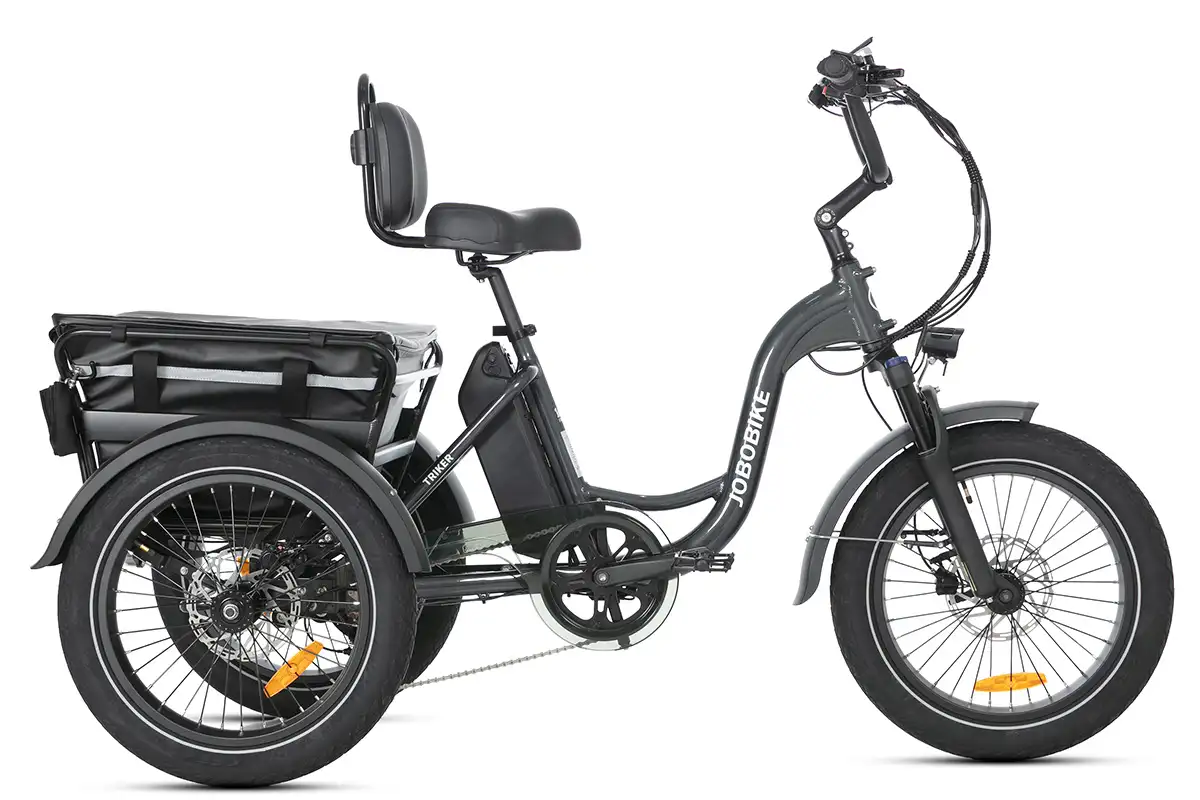
Check out the current list of Compatible Accessories for your JOBOBIKE Linda and Lyon.
Need any help installing accessories? Visit the Overview of Accessories section of our Help Center.
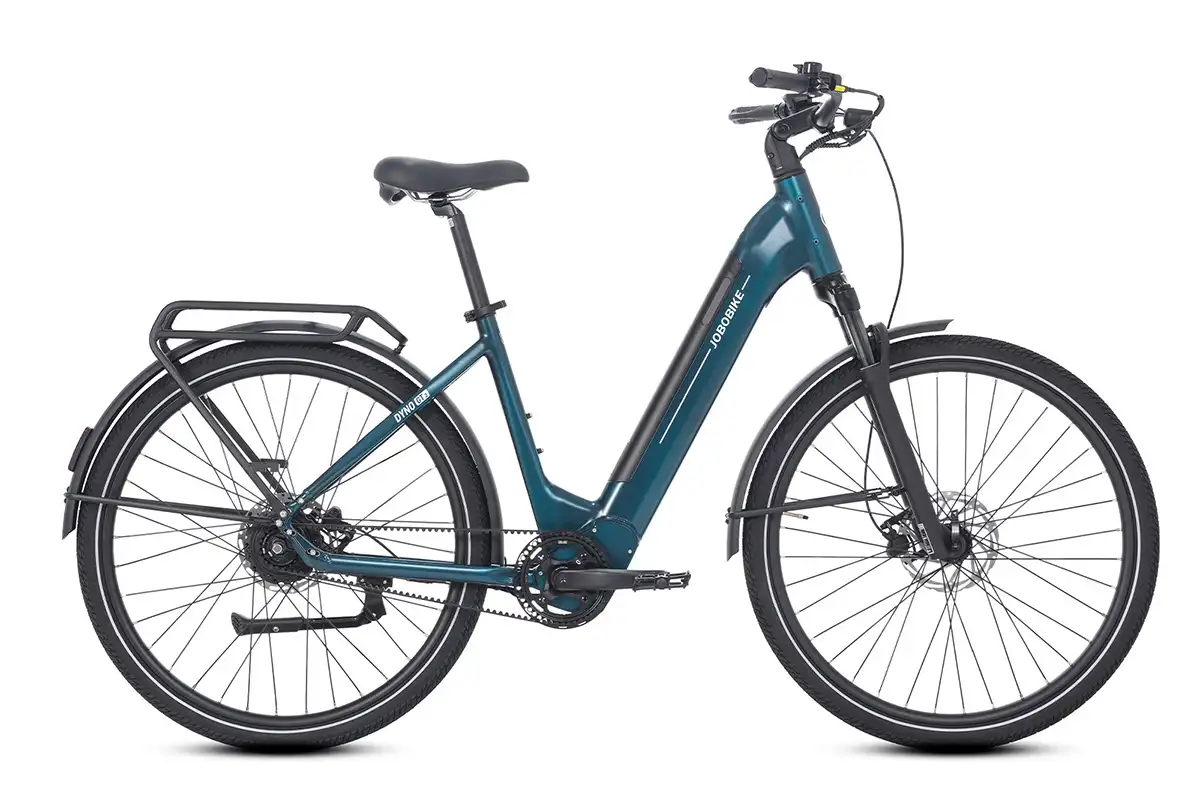
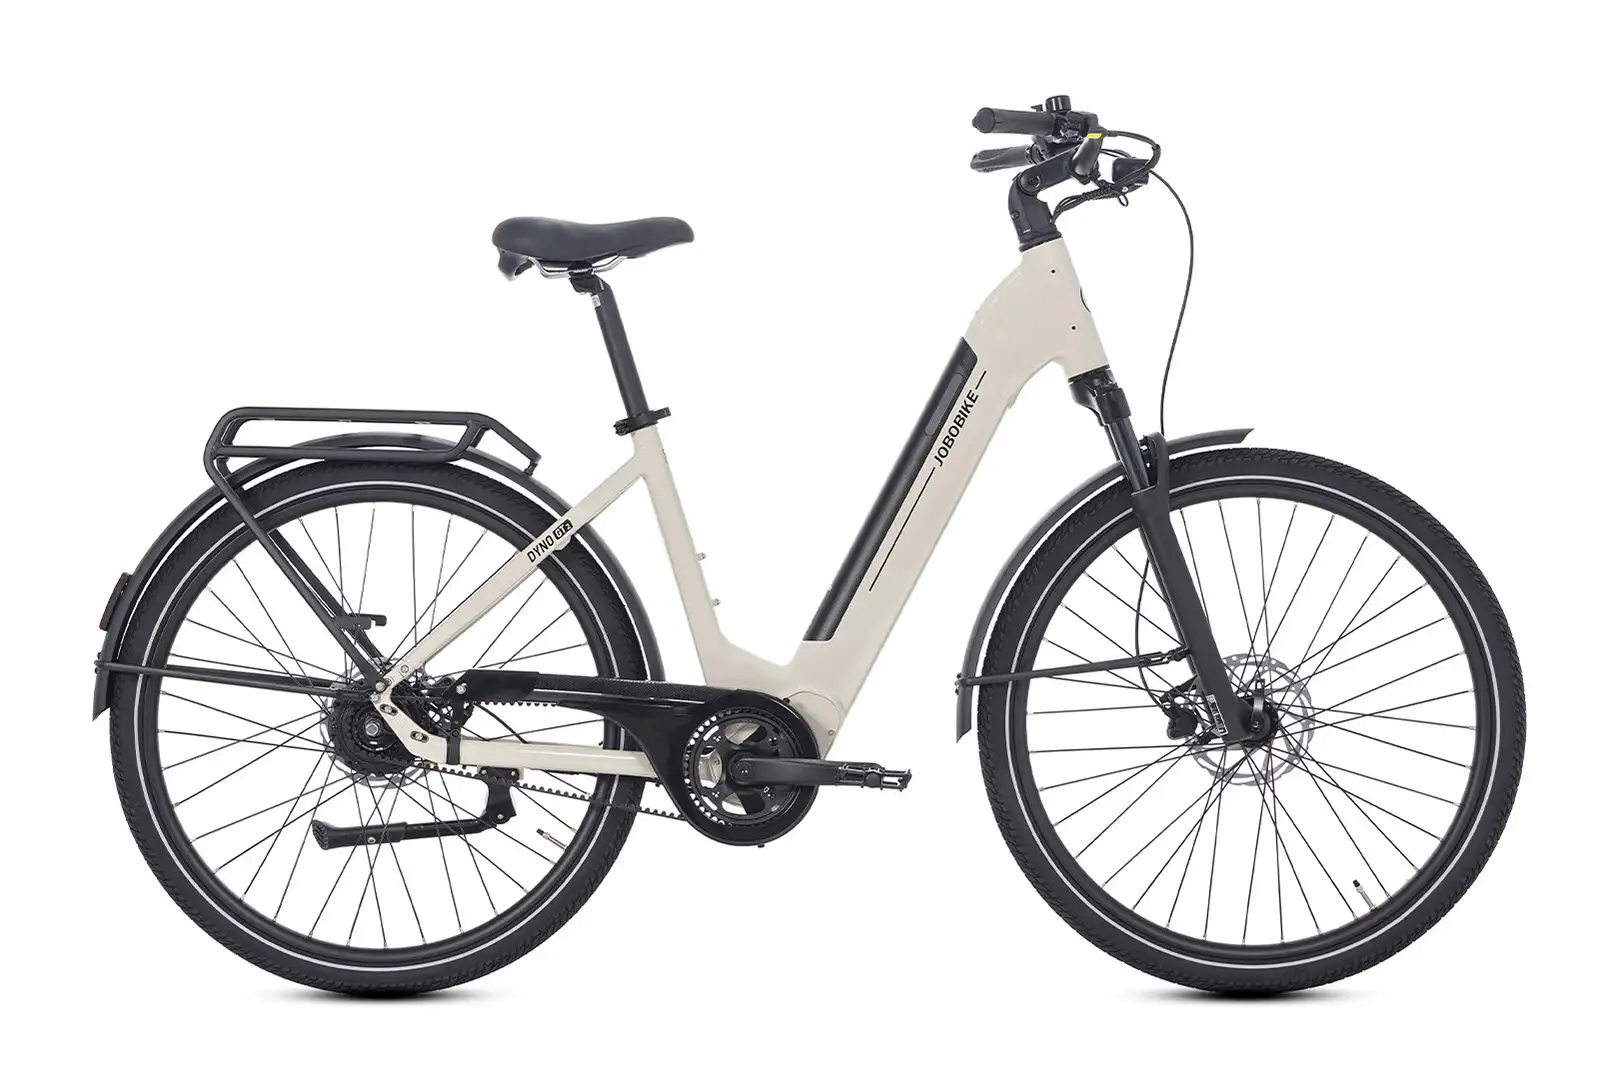
Before Riding
You need to check your e-bike is assembled and has no damage to its appearance. If you don’t know how to assemble your e-bike, you can see the Manuals and Assemble Videos. If you have questions during the assembly process, please contact JOBOBIKE at 48 799 110 872 or email service@jobobike.eu.
Then you need to Check Before Riding, and please also read Riding Precautions carefully. Routine inspections ensures your e-bike is safe, reliable and fun to ride, properly maintaining your e-bike ensures its longevity and smooth operation. Refer to your owner's manual for recommended service intervals and riding precautions.
When Riding
First, check the battery is fully charged, it will determine the distance you ride. We recommend that you would better bring an extra fully charged battery when you need to travel long distance, in case the battery runs out midway.
For your safety, please wear a helmet every time you ride your e-bike. Some regions are required helmet when riding electric bike. You should comply with local law when riding your e-bike.
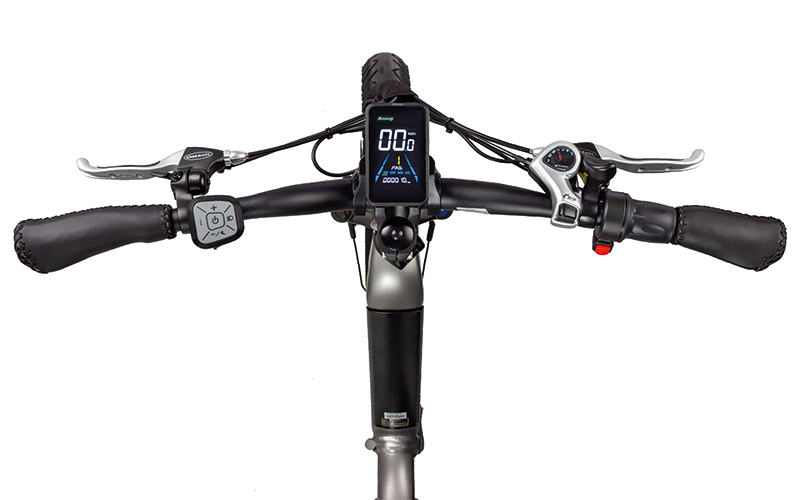
Some e-bikes offer pedal assist and electric assistance, you can use the throttle to propel the e-bike without pedaling, and you can also use pedal assist, the motor will give you a boost and make riding easier.
Some e-bikes only offer pedal assist, so when you buy e-bikes, looking carefully at the specification, the e-bikes without a throttle only offer pedal assist.
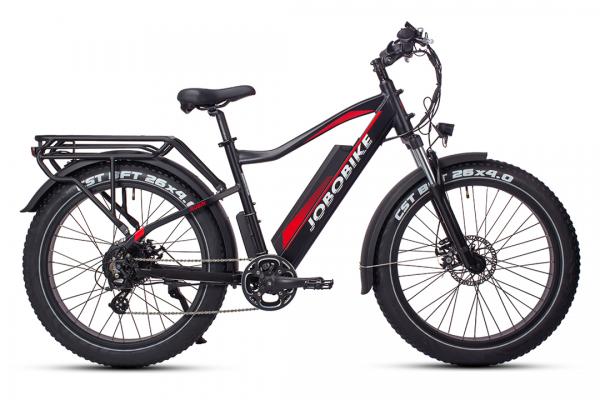
Step 1 Before opening the box
Record the exclusive bike information on the side of the box with your phone. Make sure it is with the correct direction and without serious damage
Step 2 Unpack the E-bike
Open the package and take out all of the parts. Be careful not missing even a little piece of part.
The parts shall include:
| Front Wheel | E-bike Frame |
| Toolkits | Charger |
| Keys (2 identical) | Headlight |
| Quick Release | Pedals |
| Display | Manual |
Step 3 Unfold the kickstand to make the E-bike stand up
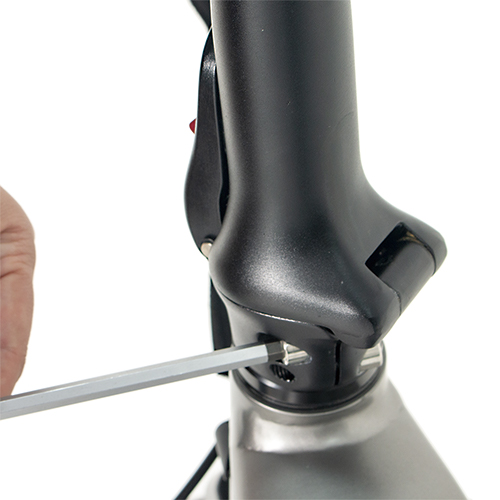
Step 4 Install the handlebar
Install the handlebar to the stem and fix it with matching screws by a 4# hexagon wrench. During installation, adjust the handlebar to an appropriate angle so that the electric bicycle can be operated comfortably. Make sure the four screws are tightened enough and the handlebar cannot be moved.
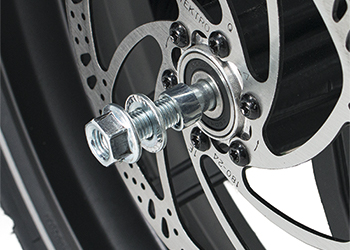
Step 5 Install the front wheel
5.1 Place the front wheel in the correct position of the fork groove and tighten it with matching wheel axel. (if there are any hub protection parts attached to the wheel, remove them)
5.2 Make sure the front wheel will not rub the brake pads when it is rotating under the condition of not pinching brake handle.
Step 6 Install the front fender and headlight
6.1 Install the front fender and headlight on the front fork with matching screws and nuts by a 4# hexagon wrench. Make sure the front fender and headlight support cannot be moved.
6.2 Adjust the headlight to a proper angle by this way: loosen the adjusting bolt with a cross-head screwdriver, adjust the headlight tilt angle to the best position, and then tighten the bolt.
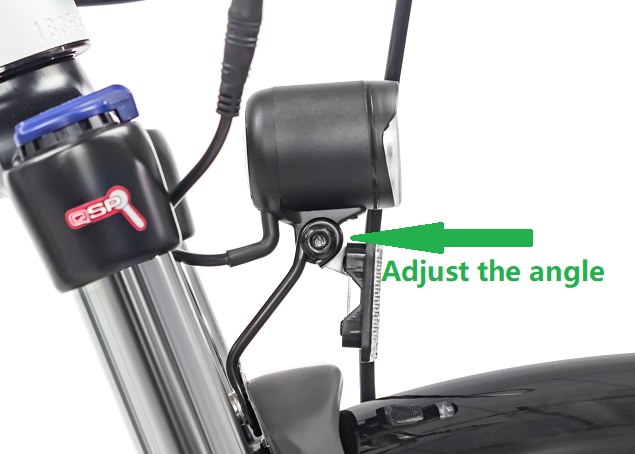
6.3 Connect the cable plug to the headlight, please note to align the inner pins and notches with the outer arrows.

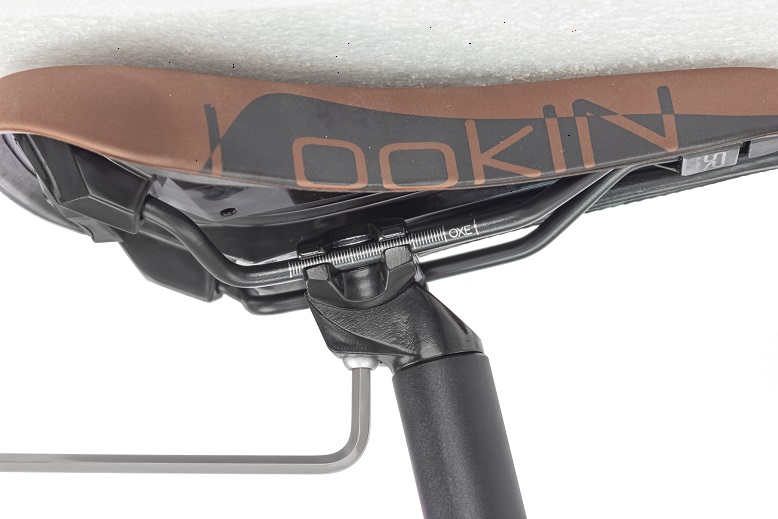
Step 7 Adjust the saddle height
Move the saddle up or down to your desired saddle height. Do not raise the saddle post exceeding the minimum insertion mark on the saddle post. Close the quick release lever and make sure the lever is tighten enough when locking the saddle post.

Step 8 Adjust the saddle angle or position
Release the screw with a 6# hexagon wrench and then you can move the saddle back and forth to adjust the position. Also you can adjust the angle of the saddle at the same time to make it more comfortable while riding.
Step 9 Install the pedals
The “L” mark refers to the left pedal.
The “R” mark refers to the right pedal.
Tighten the right pedal clockwise and tighten the left pedal anticlockwise with the 15# wrench.
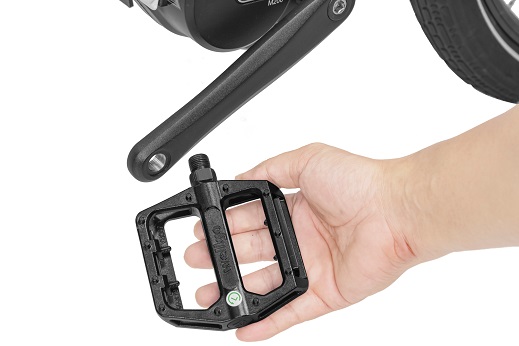
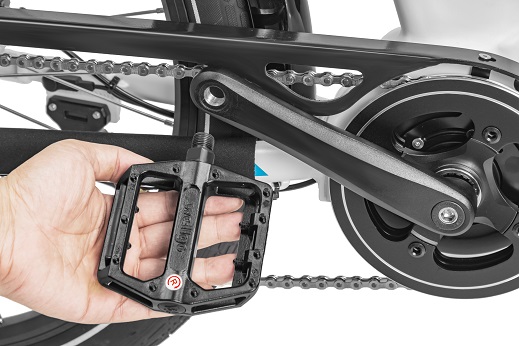
Note: Please carefully thread each pedal into it’s appropriate crankset.
Step 10 Inflate the tyres
Check whether the tyres beads and tyres are evenly seated on the rims. Use a pump with a Schrader valve and pressure gauge to the recommended pressure indicated on the tyre sidewall.
Note: Do not over inflate or under inflate tyres.
NOTICE: Both wheels must be properly settled before operating your bike. If you are not able to assembly your bike, please contact us or look for help from a certified, reputable local bike mechanic.Ensure all hardware is tightened properly.
Minors are prohibited from riding.
Understanding basic troubleshooting will help you troubleshoot and resolve e-bike problems faster. For basic troubleshooting tips, check your owner's manual or see the following article.
Common E-Bike Faults and Troubleshooting
If you cannot solve the problem, we recommend that you find a nearby bike shop for inspection, or contact us and we will have experts serve you.
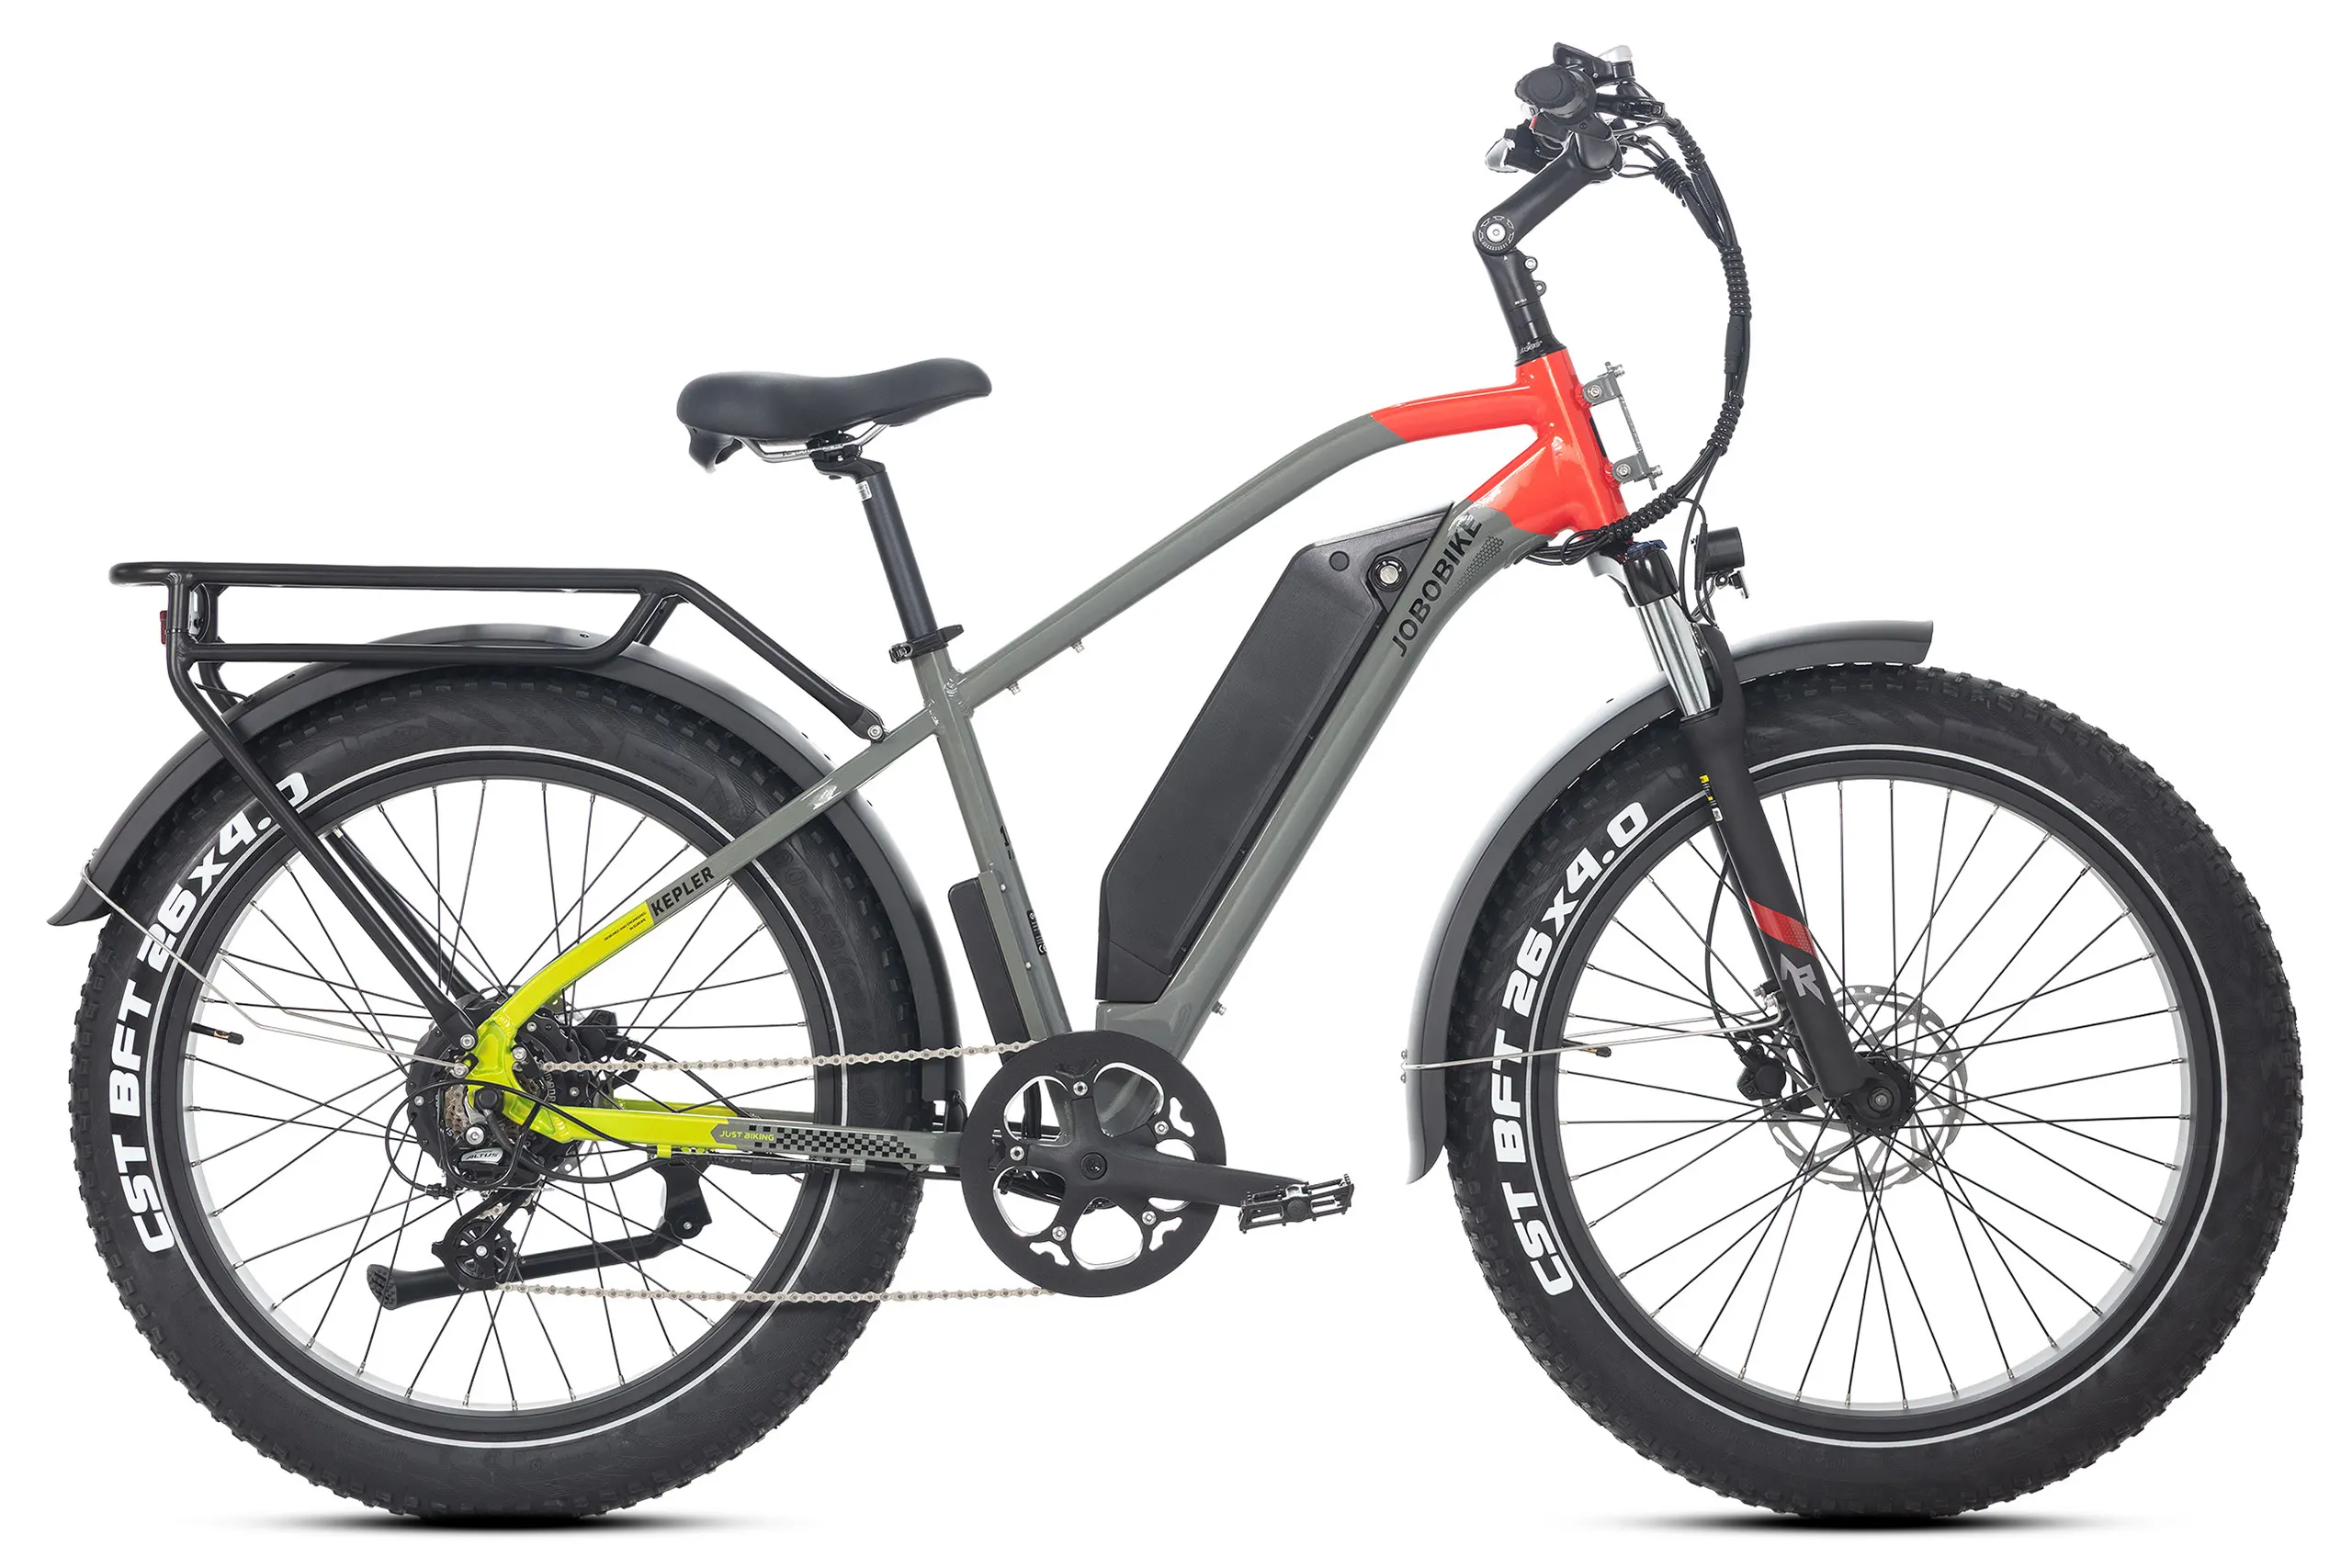
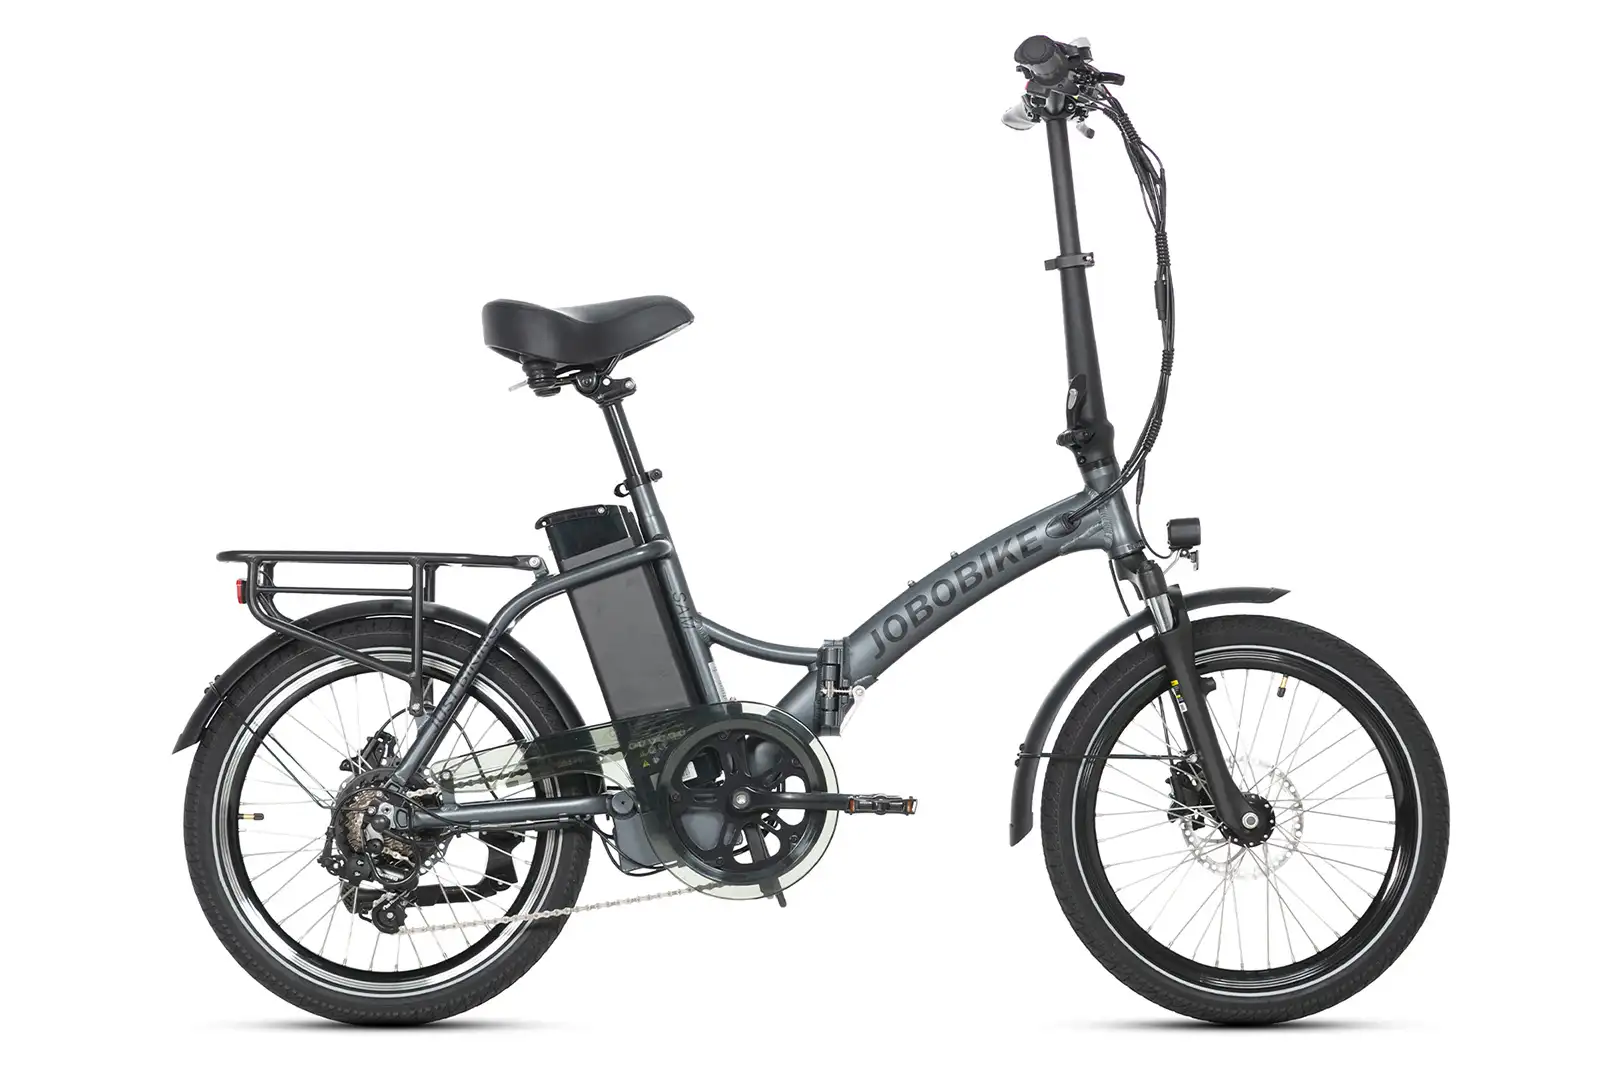
Check out the current list of Compatible Accessories for your JOBOBIKE Henry.
Need any help installing accessories? Visit the Overview of Accessories section of our Help Center.
Before Riding
You need to check your e-bike is assembled and has no damage to its appearance. If you don’t know how to assemble your e-bike, you can see the Manuals and Assemble Videos. If you have questions during the assembly process, please contact JOBOBIKE at 48 799 110 872 or email service@jobobike.eu.
Then you need to Check Before Riding, and please also read Riding Precautions carefully. Routine inspections ensures your e-bike is safe, reliable and fun to ride, properly maintaining your e-bike ensures its longevity and smooth operation. Refer to your owner's manual for recommended service intervals and riding precautions.
When Riding
First, check the battery is fully charged, it will determine the distance you ride. We recommend that you would better bring an extra fully charged battery when you need to travel long distance, in case the battery runs out midway.
For your safety, please wear a helmet every time you ride your e-bike. Some regions are required helmet when riding electric bike. You should comply with local law when riding your e-bike.
Some e-bikes offer pedal assist and electric assistance, you can use the throttle to propel the e-bike without pedaling, and you can also use pedal assist, the motor will give you a boost and make riding easier.
Some e-bikes only offer pedal assist, so when you buy e-bikes, looking carefully at the specification, the e-bikes without a throttle only offer pedal assist.
Understanding basic troubleshooting will help you troubleshoot and resolve e-bike problems faster. For basic troubleshooting tips, check your owner's manual or see the following article.
Common E-Bike Faults and Troubleshooting
If you cannot solve the problem, we recommend that you find a nearby bike shop for inspection, or contact us and we will have experts serve you.

