


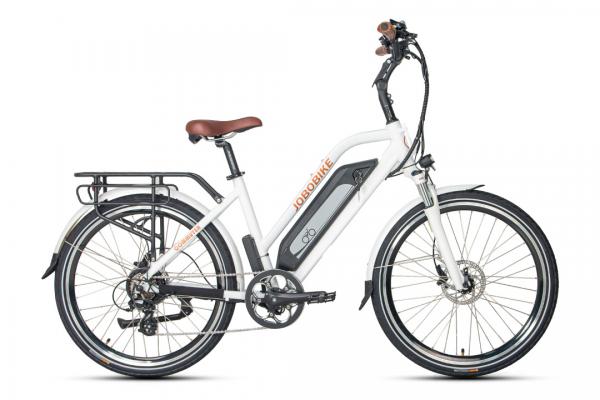
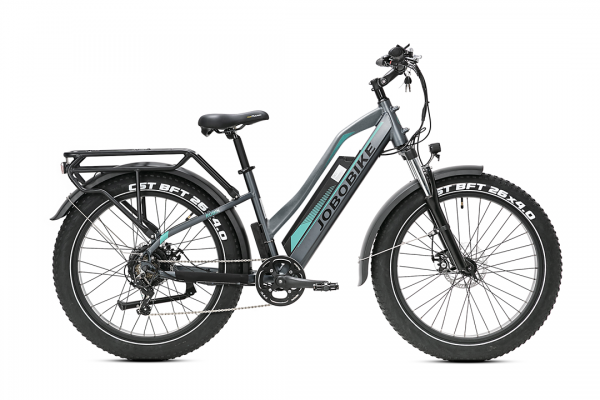
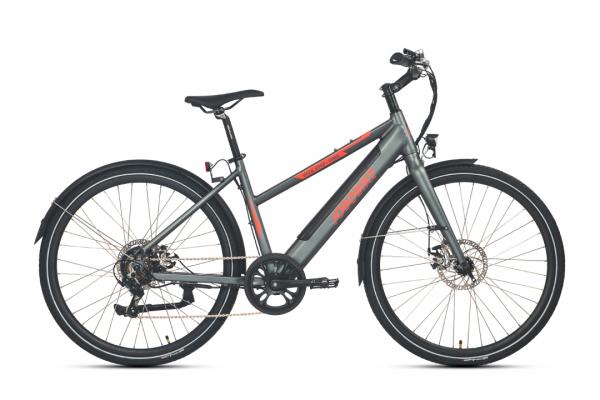
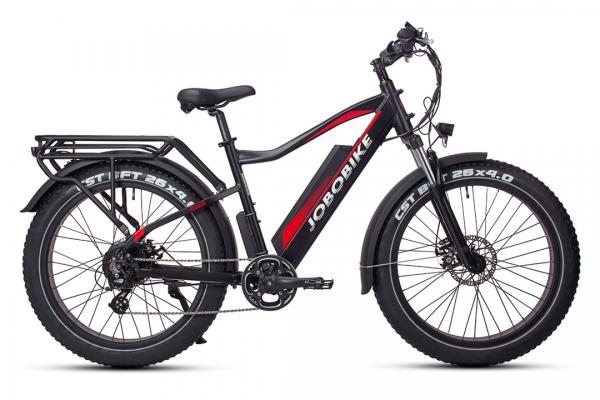
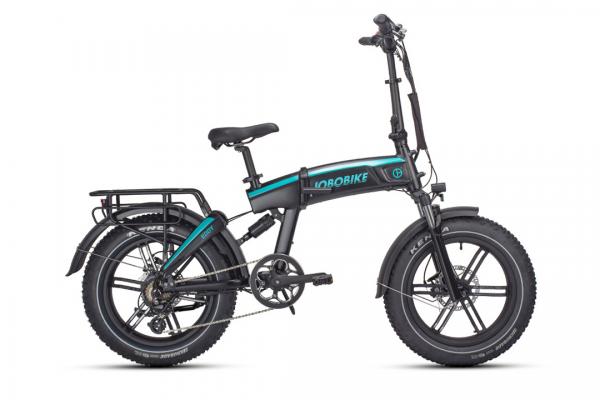
Search for ""
Step 1 Before opening the box
Record the exclusive bike information on the side of the box with your phone. Make sure it is with correct direction and without serious damage.
Step 2 Unpack the bike
Open the package and take out all of the parts. Be careful of not missing even a little piece of part.
The parts shall include:
| Front Wheel | Front Fender |
| Manual | Charger |
| Keys (2 identical) | Headlight |
| Quick Release | Pedals |
| Toolkit | Display |
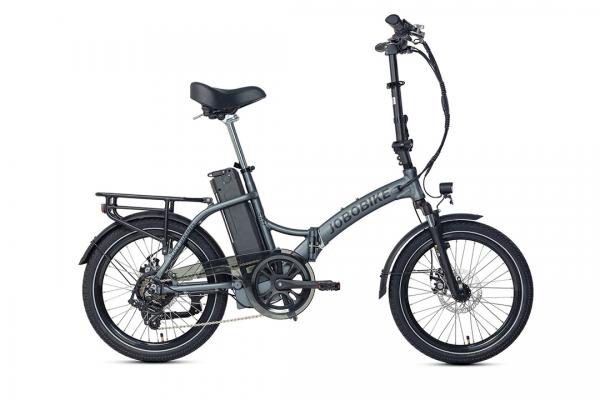
Step 3 Unfold the E-Bike Frame (If you buy a foldable Sam)
3.1 Stand at the left side of the bike.
3.2 Lift the buckle, close the e-bike frame together, rotate the buckle to the other side and then lock it.
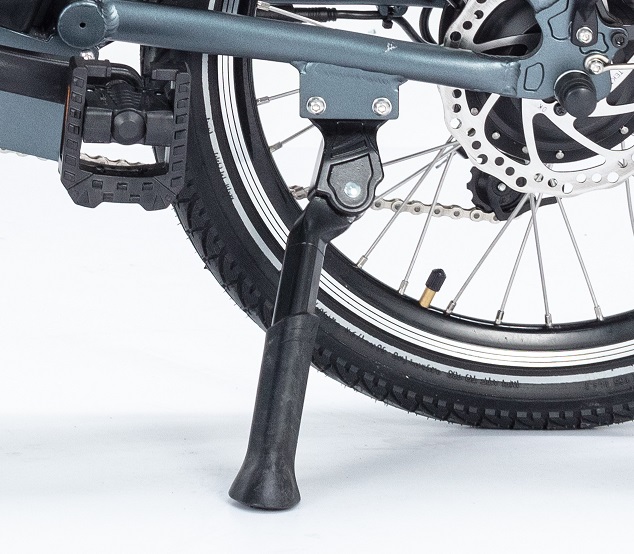
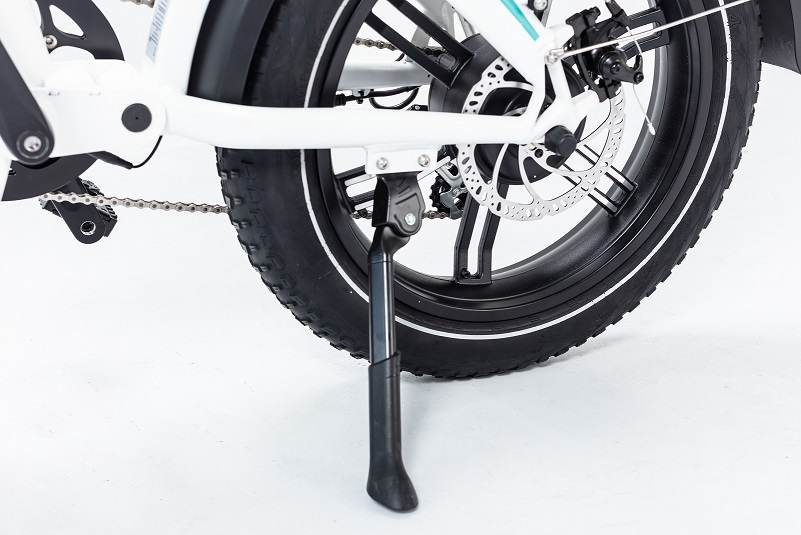
Step 4 Unfold the kickstand to make the e-bike stand up
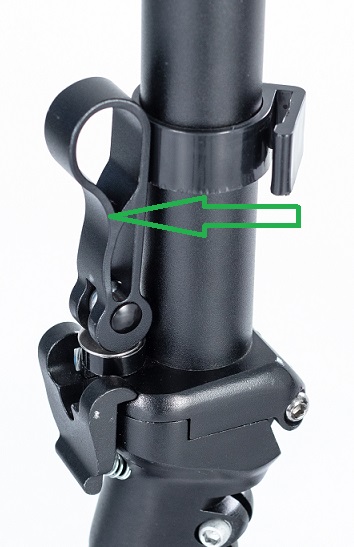
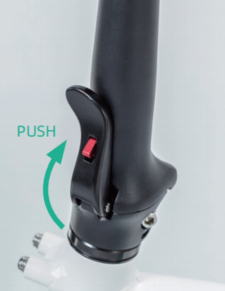
Step 5 Unfold the stem
Lift the stem up and lock it with the folding clasp, then fix the folding clasp with the plastic buckle.
Step 6 Adjust the angle of handlebar
Adjust the handlebar to a proper angle and fix the screws with a wrench 5# hexagon. Make sure the two screws are fixed tightly.
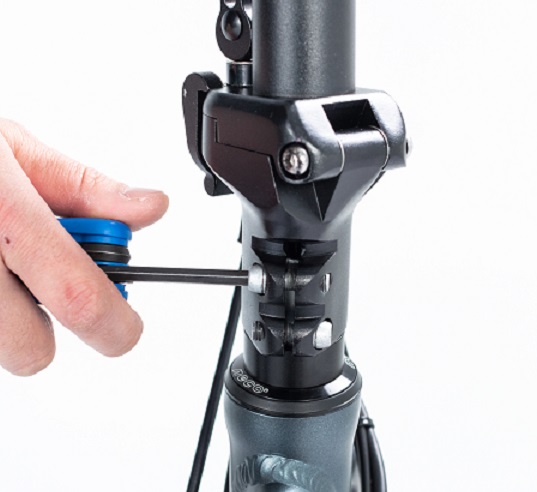
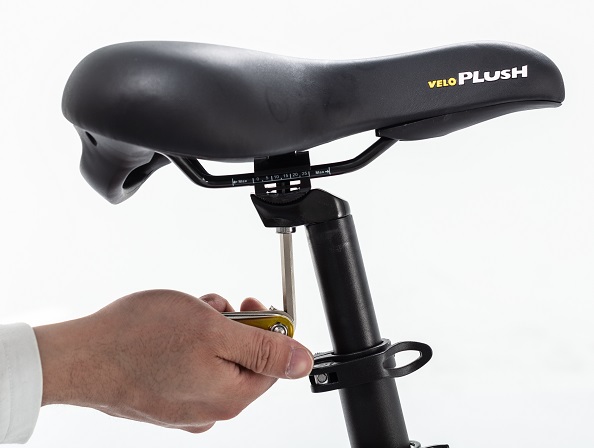
Step 7 Adjust the saddle height
Move the saddle up or down to your desired saddle height. Do not raise the saddle post exceeding the minimum insertion mark on the saddle post tube. Close the quick release lever and make sure the lever is tighten enough when locking the saddle post.
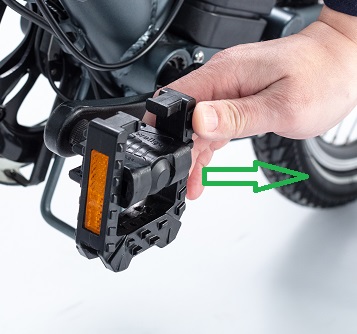
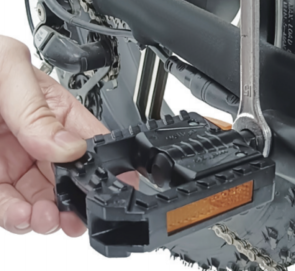
Step 8 Unfold the pedals
Pull the pedals outside as the figure shows.
Step 9 Inflate the tyres
Check whether the tyres beads and tyres are evenly seated on the rims. Use a pump with a Schrader valve and pressure gauge to the recommended pressure indicated on the tyre sidewall.
Note: Do not over inflate or under inflate tyres.
NOTICE: Both wheels must be properly settled before operating your bike. If you are not able to assemble your bike, please contact us or look for help from a certified, reputable local bike mechanic.Ensure all hardware is tightened properly.
Minors are prohibited from riding.
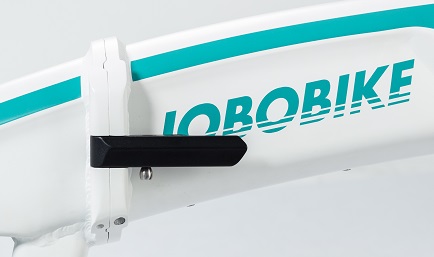
Check out the current list of Compatible Accessories for your JOBOBIKE Eddy.
Need any help installing accessories? Visit the Overview of Accessories section of our Help Center.
Understanding basic troubleshooting will help you troubleshoot and resolve e-bike problems faster. For basic troubleshooting tips, check your owner's manual or see the following article.
Common E-Bike Faults and Troubleshooting
If you cannot solve the problem, we recommend that you find a nearby bike shop for inspection, or contact us and we will have experts serve you.
Before Riding
You need to check your e-bike is assembled and has no damage to its appearance. If you don’t know how to assemble your e-bike, you can see the Manuals and Assemble Videos. If you have questions during the assembly process, please contact JOBOBIKE at 48 799 110 872 or email service@jobobike.eu.
Then you need to Check Before Riding, and please also read Riding Precautions carefully. Routine inspections ensures your e-bike is safe, reliable and fun to ride, properly maintaining your e-bike ensures its longevity and smooth operation. Refer to your owner's manual for recommended service intervals and riding precautions.
When Riding
First, check the battery is fully charged, it will determine the distance you ride. We recommend that you would better bring an extra fully charged battery when you need to travel long distance, in case the battery runs out midway.
For your safety, please wear a helmet every time you ride your e-bike. Some regions are required helmet when riding electric bike. You should comply with local law when riding your e-bike.
Some e-bikes offer pedal assist and electric assistance, you can use the throttle to propel the e-bike without pedaling, and you can also use pedal assist, the motor will give you a boost and make riding easier.
Some e-bikes only offer pedal assist, so when you buy e-bikes, looking carefully at the specification, the e-bikes without a throttle only offer pedal assist.
Step 1 Before opening the box
Record the exclusive bike information on the side of the box with your phone. Make sure it is with correct direction and without serious damage
Step 2 Unpack the bike
Open the package and take out all of the parts. Be careful of not missing even a little piece of part.
The parts shall include:
| Front Wheel | Manual |
| Manual | Charger |
| Keys (2 identical) | Headlight |
| Quick Release | Pedals |
| Toolkit |
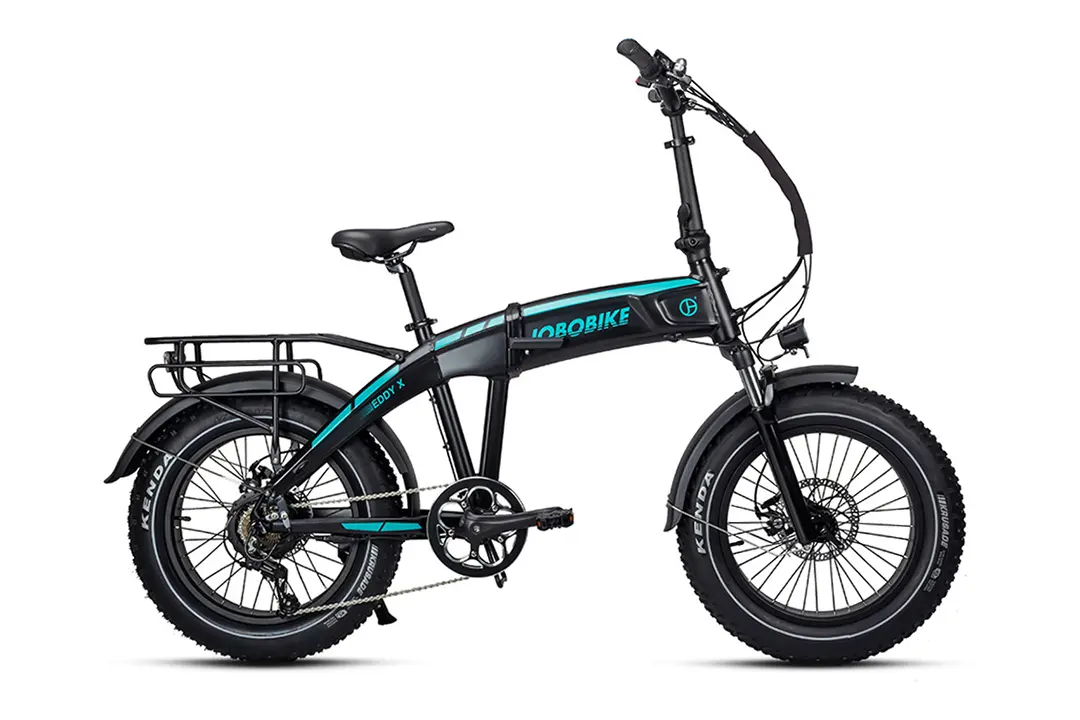
Step 3 Unfold the E-Bike kickstand to make the E-Bike stand up
Step 4 Lift the stem up and lock it with the folding clasp
Step 5 Install the front fender and the headlight
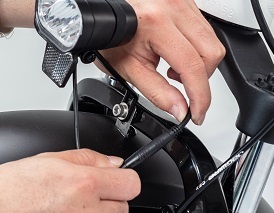
5.1 Install the front fender and headlight on the front fork with matching screws and nuts by a hexagon wrench 4#. Make sure the front fender and headlight support cannot be moved.
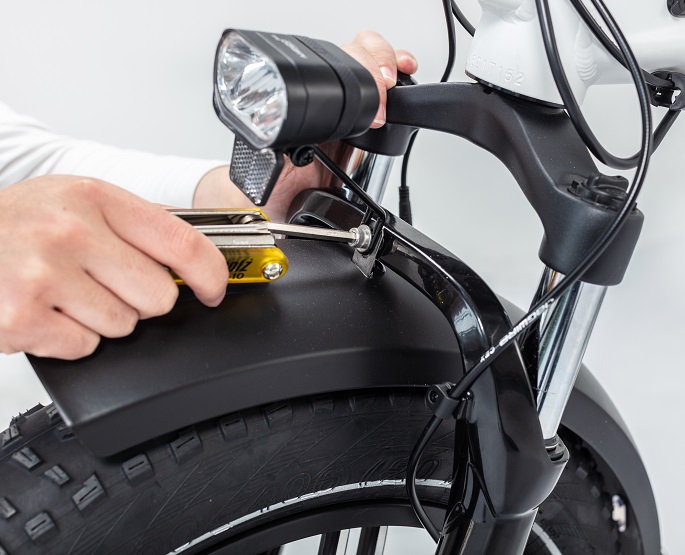
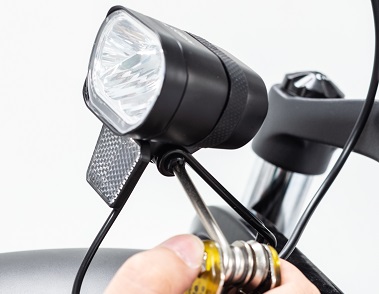
5.2 Adjust the headlight to a proper angle by this way: loosen the adjusting bolt with a cross-head screwdriver, adjust the headlight tilt angle to the best position, and then tighten the bolt.
5.3 Connect the cable plug to the headlight, please note to align the inner pins and notches with the outer arrows.
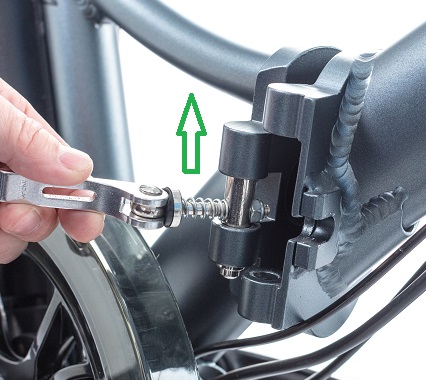
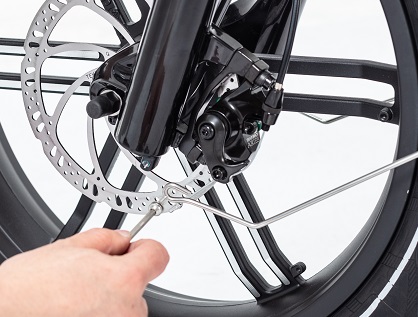
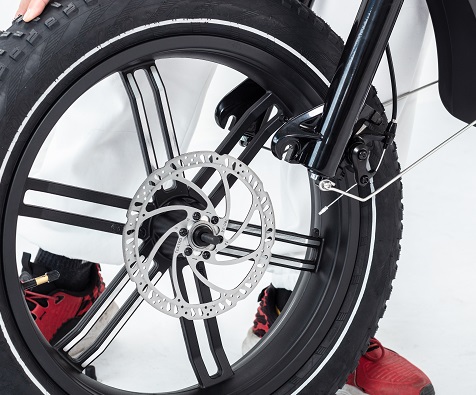
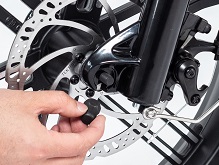
Step 6 Install the front wheel
6.1 Place the front wheel in the correct position of the fork groove and tighten it with matching quick release. (if there are any hub protection parts attached to the wheel, remove them)
6.2 Make sure the front wheel will not rub the brake pads when it is rotating under the condition of not pinching brake handle.
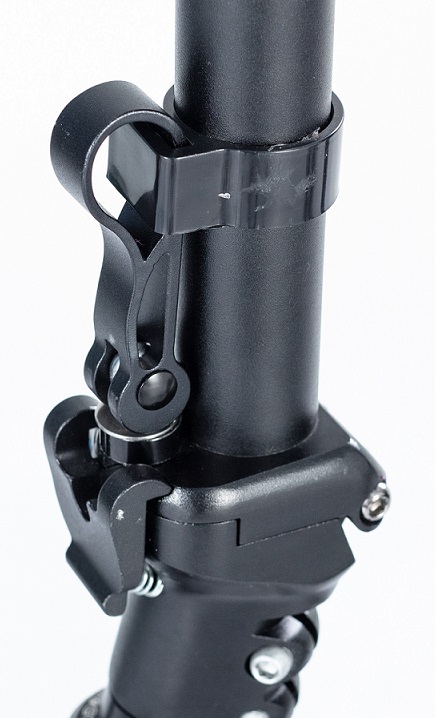
Step 7 Secure the folding mechanisms
Make sure the folding buckle is locked tightly.
Step 8 Adjust the saddle height
Move the saddle up or down to your desired saddle height. Do not raise the saddle post exceeding the minimum insertion mark on the saddle post. Close the quick release lever and make sure the lever is tighten enough when locking the saddle post.
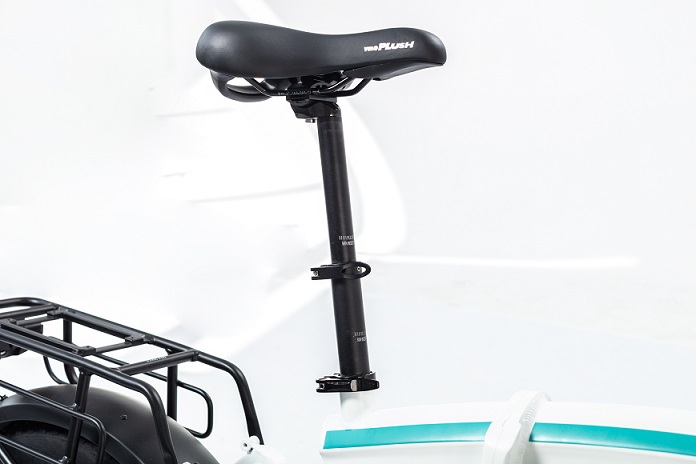
Step 9 Adjust the saddle angle or position
Release the screw with a 6# hexagon wrench and then move the saddle back and forth to adjust the position. Also you can adjust the angle of the saddle at the same time to make it more comfortable while riding.
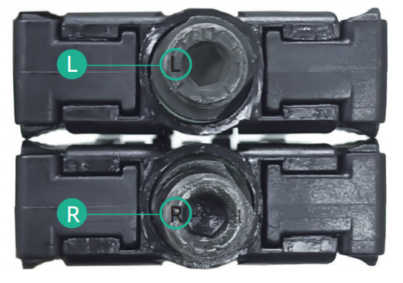
Step 10 Install the pedals
The “L” mark refers to the left pedal.
The “R” mark refers to the right pedal.
Tighten the right pedal clockwise and tighten the left peddal counterclockwise with the 15# wrench.
Note: Please carefully thread each pedal into it’s appropriate crankset.
Step 11 Inflate the tyres
Check whether the tyres beads and tyres are evenly seated on the rims. Use a pump with a Schrader valve and pressure gauge to the recommended pressure indicated on the tyre sidewall.
Note: Do not over inflate or under inflate tyres.
NOTICE: Both wheels must be properly settled before operating your bike. If you are not able to assemble your bike, please contact us or look for help from a certified, reputable local bike mechanic.Ensure all hardware is tightened properly.
Minors are prohibited from riding.
Before Riding
You need to check your e-bike is assembled and has no damage to its appearance. If you don’t know how to assemble your e-bike, you can see the Manuals and Assemble Videos . If you have questions during the assembly process, please contact JOBOBIKE at 48 799 110 872 or email service@jobobike.eu.
Then you need to Check Before Riding , and please also read Riding Precautions carefully. Routine inspections ensures your e-bike is safe, reliable and fun to ride, properly maintaining your e-bike ensures its longevity and smooth operation. Refer to your owner's manual for recommended service intervals and riding precautions.
When Riding
First, check the battery is fully charged, it will determine the distance you ride. We recommend that you would better bring an extra fully charged battery when you need to travel long distance, in case the battery runs out midway.
For your safety, please wear a helmet every time you ride your e-bike. Some regions are required helmet when riding electric bike. You should comply with local law when riding your e-bike.
Some e-bikes offer pedal assist and electric assistance, you can use the throttle to propel the e-bike without pedaling, and you can also use pedal assist, the motor will give you a boost and make riding easier.
Some e-bikes only offer pedal assist, so when you buy e-bikes, looking carefully at the specification, the e-bikes without a throttle only offer pedal assist.
1. Use the matching charger provided by JOBOBIKE to charge the battery. It is prohibited to use other chargers with different voltage and current levels to charge the battery.
2. When charging, the battery should be placed in a dry and cool environment, away from sunlight, high temperature, high humidity, severe vibration and collision.
3. After the battery is fully charged, promptly disconnect the charging cable from the charger to prevent the battery from overcharging.
4. Try to avoid riding in high temperature environments to prevent the battery temperature from being too high.
5. Try to avoid riding on steep slopes for a long time to prevent the battery from being discharged with high current for a long time, causing the battery temperature to be too high.
6. When the battery is almost exhausted, it should be charged in time. Prevent the battery from over-discharging.
7. Try to avoid riding in heavy rain to prevent water from entering the battery and causing short circuit and other malfunctions. The battery should be dried promptly after getting wet.
8. Batteries should be stored in a dry and cool environment when not in use.
9. When the battery will be stored for a long time, it should be recharged every 3 months to prevent the battery from being in a depleted state due to self-discharge.
10. If the battery fails, make sure it is repaired by a professional. Private battery repair or modification is prohibited.
1. Check the e-bike before riding.
A comprehensive bike checking is necessary before riding. Make sure the brake pad is not worn seriously and the brake works normally. Make sure the tire is intact and the tire pressure is sufficient. Make sure the handlebar is fixed tightly with the handle stem.
2. Do not take a sudden brake when riding.
Do not riding too fast on the rainy days. Take a gentle brake in advance instead of taking a sudden brake to avoid accidental injury which caused by wheel slip. In addition, excessive speed will cause the water splashing and make the water get into electrical parts of the bike.
3. Do not pass through the areas with deep water accumulation.
Do not pass through the areas with deep water accumulation to avoid flooding the pedal assist sensor, cables, controller, battery, charging ports, motor, etc., which may causes malfunctions.
4. Try to avoid road traffic signs as much as possible.
On rainy days, some traffic signs on the ground may become slippery than usual. To avoid slipping you should pay more attention when riding.
5. Wear a raincoat properly.
Dress a raincoat when driving on rainy days, and hold the handlebar tightly with both hands. Do not riding while holding an umbrella.
6. Do not charge the battery under the rain.
Try not to charge the battery in a area that invaded by rain. Please charge the battery in a dry place .
7. Do not get water into electrical parts of the ebike and do not switch on the display forcefully if the bike is still not dried up.
If there is water get into electrical parts of the ebike, it is better not switch on the display immediately. please dry all the parts before riding it.
Make the display, throttle, and other accessories away from getting soaked in rain.
8. Parking under rain shelter.
If the rain is heavy, stop riding the ebike and parking under a rain shelter.
Before riding, it is very important to check the condition of the bicycle, which is often forgotten. Therefore, before riding, remember to do the following checks:
1. Check the tightness of quick release and screws in the main parts
a. Check if the handlebar and handle stem bolts are loose.
b. Check if there are cracks in the seat tube and the seat post is locked tightly.
c. Check if the front and rear wheel quick release locks the tires tightly.
d. Check if the crank bolts and the pedal bolts are locked tightly.
2. Brake checking
a. Check if the brake pads is severely worn.
b. Hold the brake lever tightly and check if the caliper moves flexibly with the cable moving.
c. Rotate the front and rear wheels respectively and check if any rubbing problem exist between the brake pads and the brake disc.
d. Hold the brake and check if the brake pad can firmly hold the brake disc and stop the running wheel.
3. Bowl set checking
Grasp the two brake lever and push the bike back and forth. If there is any shaking gap, it indicates that the bowl set needs to be adjusted and the bolt needs to be tightened.
4. Tire checking
a. Check if the tire severely wear and rubber aging.
b. Check if foreign objects and cuts on the surface of the tire.
c. Rotate the front and rear wheel and check if there is a serious problem of wheel deviation.
d. Check if the tire pressure is sufficient ( press the tire by hand).
e. Check if the spokes for any looseness or breakage.
5. Shifter and derailleur checking
Lift rear wheel, rotate the crank and press the shifter to increase or decrease the gears. Check if the rear derailleur can switch smoothly.
Understanding basic troubleshooting will help you troubleshoot and resolve e-bike problems faster. For basic troubleshooting tips, check your owner's manual or see the following article.
Common E-Bike Faults and Troubleshooting
If you cannot solve the problem, we recommend that you find a nearby bike shop for inspection, or contact us and we will have experts serve you.

