Search our knowledge base or browse our topics below
Assemble Video
Step 1 Before opening the box
Record the exclusive bike information on the side of the box with your phone. Make sure it is with the correct direction and without serious damage
Step 2 Unpack the E-bike
Open the package and take out all of the parts. Be careful not missing even a little piece of part.
The parts shall include:
| Front Wheel | E-bike Frame |
| Toolkits | Charger |
| Keys (2 identical) | Headlight |
| Quick Release | Pedals |
| Display |
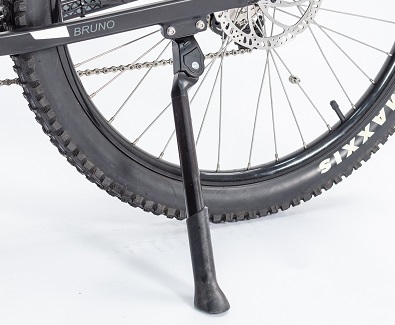
Step 3 Unfold the kickstand to make the E-bike stand up
Step 4 Install the handlebar
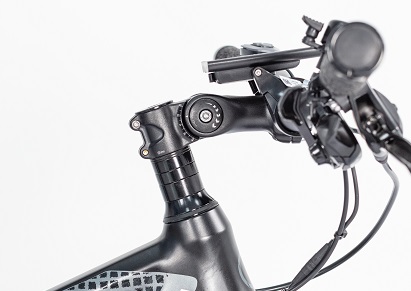
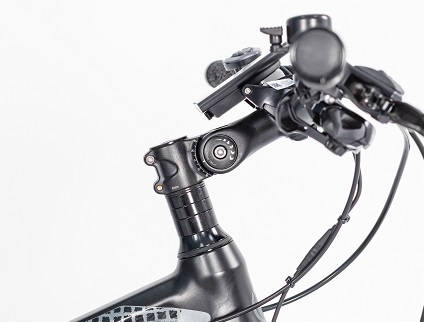
Install the handlebar to the stem and fix it with matching screws by a 4# hexagon wrench. During installation, adjust the handlebar to an appropriate angle so that the electric bicycle can be operated comfortably. Make sure the four screws are tightened enough and the handlebar cannot be moved.
Step 5 Install the front wheel
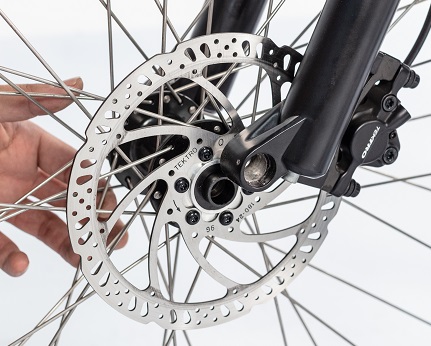
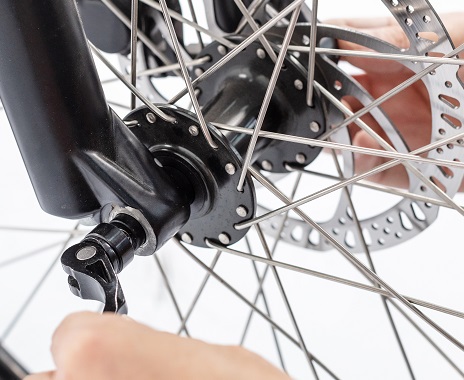
5.1 Place the front wheel in the correct position of the fork groove and tighten it with matching wheel axel. (if there are any hub protection parts attached to the wheel, remove them)
5.2 Make sure the front wheel will not rub the brake pads when it is rotating under the condition of not pinching brake handle.
Step 6 Install the front fender and headlight
6.1 Install the front fender and headlight on the front fork with matching screws and nuts by a 4# hexagon wrench. Make sure the front fender and headlight support cannot be moved.
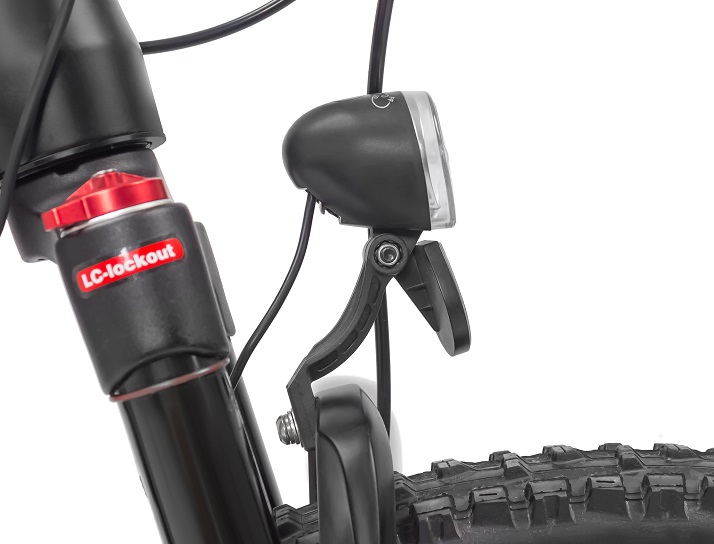
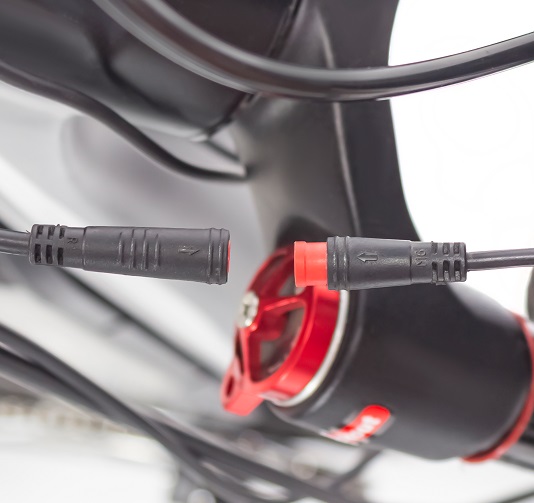
6.2 Adjust the headlight to a proper angle by this way: loosen the adjusting bolt with a cross-head screwdriver, adjust the headlight tilt angle to the best position, and then tighten the bolt.
6.3 Connect the cable plug to the headlight, please note to align the inner pins and notches with the outer arrows.
Step 7 Adjust the saddle height
Move the saddle up or down to your desired saddle height. Do not raise the saddle post exceeding the minimum insertion mark on the saddle post. Close the quick release lever and make sure the lever is tighten enough when locking the saddle post.
Step 8 Adjust the saddle angle or position
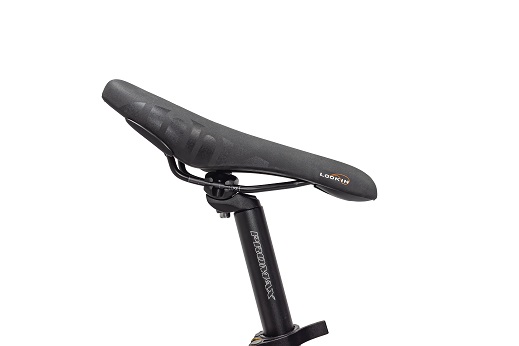
Release the screw with a 6# hexagon wrench and then you can move the saddle to the left or right to change the position. Also you can change the angle of the saddle at the same time to make it more comfortable while riding.

Step 9 Install the pedals
The “L” mark refers to the left pedal.
The “R” mark refers to the right pedal.
Tighten the right pedal clockwise and tighten the left pedal anticlockwise with the 15# wrench.
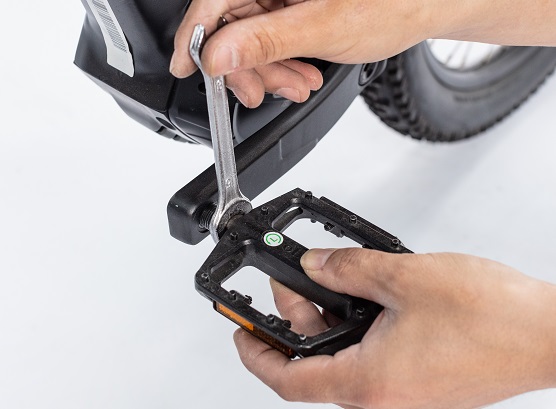
Note: Please carefully thread each pedal into it’s appropriate crankset.
Step 10 Inflate the tyres
Check whether the tyres beads and tyres are evenly seated on the rims. Use a pump with a Schrader valve and pressure gauge to the recommended pressure indicated on the tyre sidewall. 35-60 psi (2.5 - 4.1 bar).
Note: Do not over inflate or under inflate tyres.
NOTICE: Both wheels must be properly settled before operating your bike. If you are not able to assembly your bike, please contact us or look for help from a certified, reputable local bike mechanic.Ensure all hardware is tightened properly.
Minors are prohibited from riding.


